
How Webflow Templates Can Help You Build Better Websites, Faster

Here's the situation: You’re swamped with design projects, juggling client demands and tight deadlines. The last thing you need is another website to build from scratch.
You’re probably familiar with the frustration: spending hours on the initial design phase, only to realize that the real work—development, testing, and launching—hasn’t even started yet. It’s overwhelming, especially when clients expect top-tier results quickly.
As a designer, I know the feeling all too well. That’s where Webflow templates come in. These pre-designed, fully customizable layouts can be a total game-changer, giving you the ability to skip the endless design work and focus on what really matters—delivering amazing websites that wow your clients.
In this post, you'll learn how Webflow templates can help you streamline your design process, save time, and still deliver beautiful, professional websites. You’ll discover the benefits of using them, how to customize templates for any project, and how they can help you focus more on the creative aspects, while the heavy lifting is already done.
What Makes Webflow Templates Stand Out?
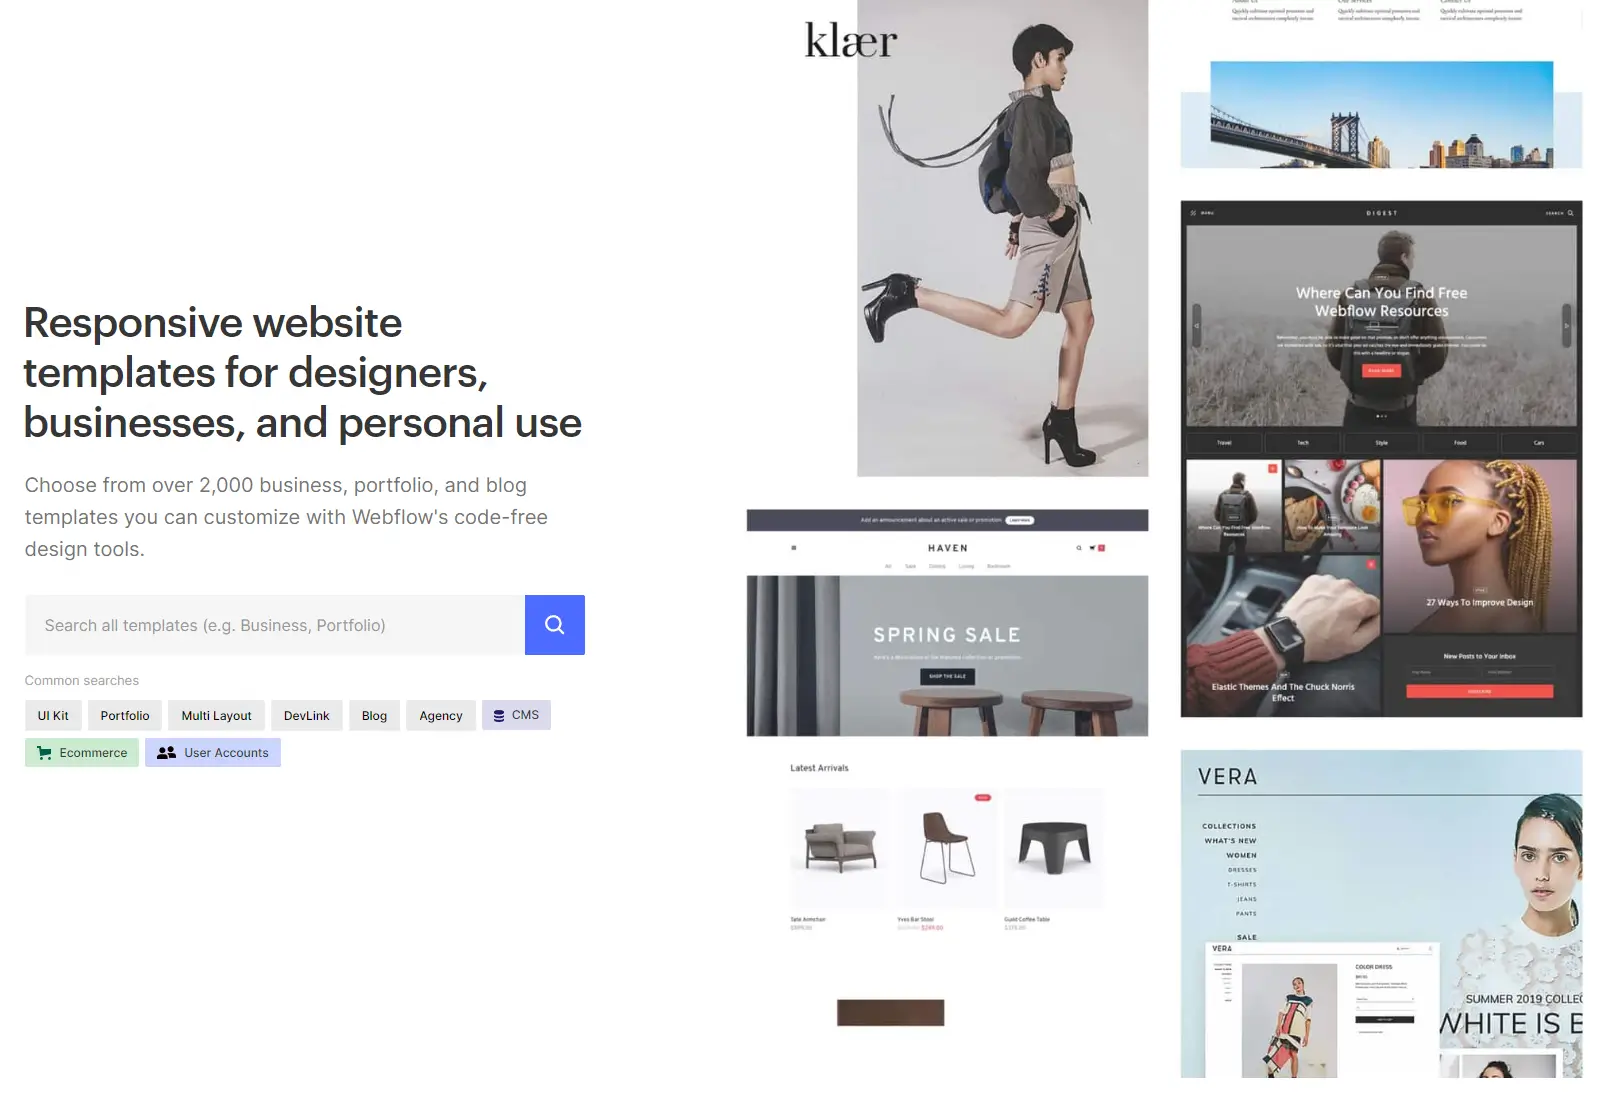
So, what exactly are Webflow templates? In simple terms, they’re fully customizable website layouts, designed by professionals, and available for anyone to use on the Webflow platform. The beauty of these templates is that they’re not just another generic design. Unlike many WordPress equivalents, Webflow templates must pass rigorous guidelines, ensuring top-notch quality every time.
Whether you’re working on a portfolio, an e-commerce store, or a business site, you’ll find a range of templates covering various industries and styles. They come packed with Webflow’s best-in-class CMS functionality and e-commerce capabilities. In short, these aren’t just pretty templates; they’re thoughtfully designed to be visually appealing, user-friendly, and fully responsive across all devices.
Here’s the best part: You have full control over every pixel. Webflow templates are 100% customizable, so you’re not stuck with a cookie-cutter design. Whether your client has specific branding needs or you want to make a site truly unique, you can tweak, modify, and adjust every aspect to meet their vision.
Why You Should Be Using Webflow Templates
Here’s why Webflow templates are a go-to for busy designers:
- They’re a Time-Saver: Forget spending hours (or even days) on the initial design phase. With a Webflow template, you can jump straight into customization, cutting your design time in half—or more. You’ll have more time to focus on refining details and adding personal touches, rather than building everything from scratch.
- Professional Aesthetics: Webflow templates are created by experienced designers and go through a strict review process. That means you’re getting a polished, professional design right out of the box, giving you a head start on creating a beautiful website.
- Responsiveness is Built-In: One of the best features? Every Webflow template is designed with responsiveness in mind, ensuring your site looks great on desktops, tablets, and phones. No more worrying about whether your design will break when viewed on smaller screens—it’s already handled.
- Total Customization: Even though you’re starting with a template, you have complete freedom to make it your own. From changing colors and fonts to altering layouts and adding new features, you can tailor the template to fit your client’s needs perfectly.
- Cost-Effective: Starting from scratch can be expensive and time-consuming. Webflow templates offer a budget-friendly alternative, helping you save both time and money while still delivering high-quality work.
- Community and Support: When you purchase a Webflow template, you get more than just a design—you get support. Many templates come with customer service from the designer, and Webflow’s active community is always there to help with tips, tutorials, and resources.
How to Make the Most of Webflow Templates
Now that we’ve covered why Webflow templates are such a powerful tool, let’s dive into how you can leverage them effectively. Here’s a step-by-step guide to getting the most out of your template:
- Choose the Right Template: Start by browsing the extensive collection of Webflow templates. With so many options, it can feel overwhelming, but focus on what your client needs. Look for a template that matches their style, functionality, and branding requirements. Whether it's for a sleek portfolio or a robust e-commerce store, Webflow’s marketplace has something for every project.
- Purchase or Download: Depending on your budget, you can either purchase a premium template (usually priced between $29 and $129) or opt for one of the free templates. Premium templates often come with more complex features, but free ones are still highly customizable and a great starting point.
- Customize the Template to Match Your Client’s Brand: Once the template is imported into your Webflow account, it’s time to make it your own. Start by updating the style guide—colors, fonts, and images—to reflect your client’s branding. This is where the real magic happens, transforming a generic template into a unique, fully branded site. Don’t forget to adjust any global elements like buttons and forms to ensure everything stays consistent across the site.
- Specialized Design Tweaks: You’ll probably need to make some more specific changes beyond the basic styling. Luckily, Webflow lets you get as detailed as you want. Need a custom layout for a section? No problem. Use Webflow’s Designer to create new classes, adjust interactions, or fine-tune animations to make the site feel bespoke.
- Add Functionality: Does your client need specific features or integrations? Webflow templates are flexible enough to incorporate any additional functionality you need, whether it’s adding e-commerce, integrating third-party tools, or embedding custom code. This flexibility allows you to meet even the most unique client requests without breaking a sweat.
- Testing and Launching: Before you hit publish, make sure to test everything thoroughly. Webflow’s Preview mode lets you see how the site looks and functions across different devices. Check for responsiveness, broken links, and any other bugs that may have slipped through. It’s easy to overlook a small detail in the rush to launch, so take the time to ensure everything works smoothly.
- Update SEO and Site Settings: One often overlooked step is updating the SEO settings. Replace the default meta titles, descriptions, and alt text with relevant keywords for your client’s business. Also, review the site settings, including favicon, social share images, and site security options, before handing the final product over to your client.
Final Thoughts: Why Start from Scratch When You Can Get Ahead?
Webflow templates are more than just a time-saver—they’re a powerful tool that helps you deliver high-quality websites faster, without compromising on design or functionality. They offer you the flexibility to create something unique for each client while skipping the heavy-lifting of building everything from scratch.
By using these templates, you’re not only streamlining your workflow but also giving yourself more room to focus on what really matters—whether that’s fine-tuning a project’s details, tackling other client work, or simply enjoying some well-earned free time.
In the end, it’s all about working smarter, not harder. Why spend hours designing every website from the ground up when you can jump ahead with a solid foundation? With Webflow templates, you get the best of both worlds: beautiful, responsive designs that are fully customizable and ready to go.
So next time you’re staring down a tight deadline or juggling multiple projects, remember—there’s no need to reinvent the wheel. Webflow templates have your back, letting you focus on delivering standout websites your clients will love, without sacrificing your sanity (or your time).
More recent insights


